
MarketingJan 25, 2025
4 tips to design better surveys with Zoho Survey
With Zoho Survey, you can create professional and effective surveys by optimizing questions, improvi…
Deploying workflows with n8n is straightforward, but beginners might still find themselves struggling and wasting time. This article provides a detailed guide with illustrative examples to help you master this platform effectively.
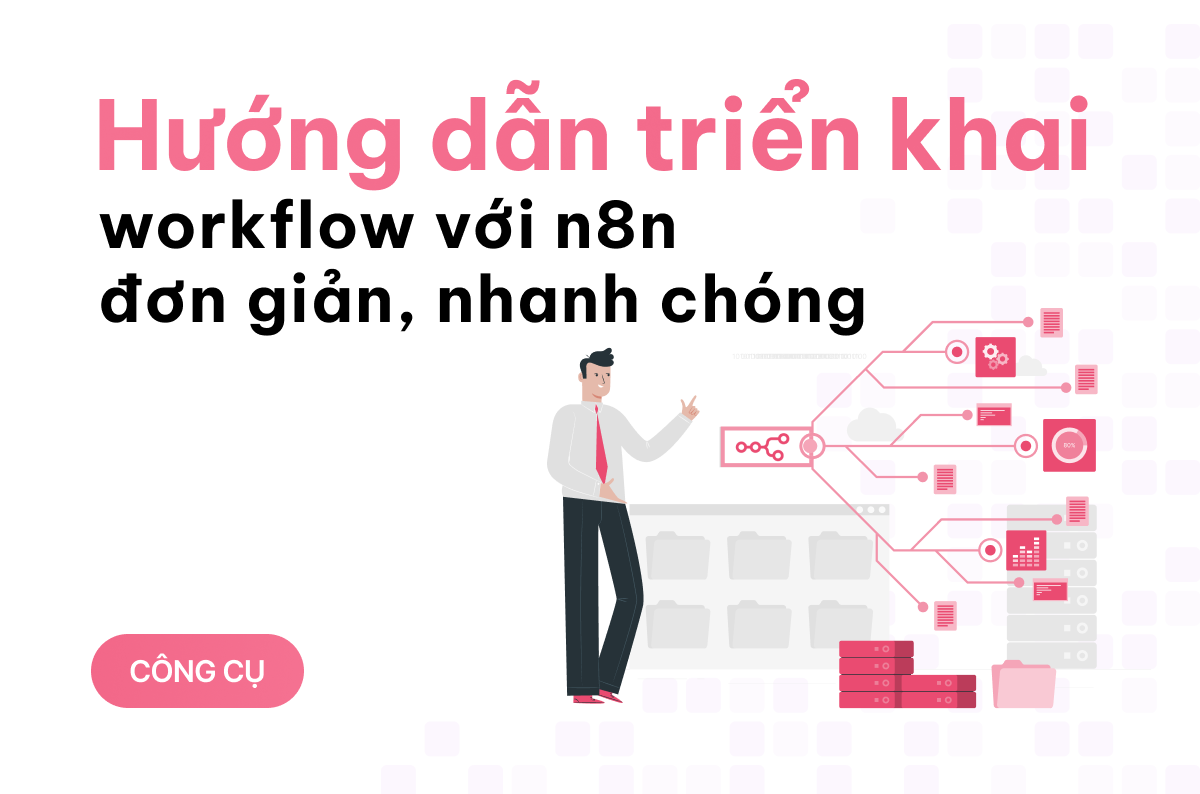
Simply put, a workflow is a series of pre-configured actions that are connected together to automate a process.
In n8n, each action in a workflow is called a node. This is similar to modules in Make.com, just with a different name.
A workflow can be simple with a few nodes or complex with many nodes, depending on how you design it. Of course, you can also save time by using the templates that n8n has already built.
But in this article, I will guide you through the steps of creating a simple workflow manually, so you can master n8n better.

To save time, you need to think and plan before starting to create a workflow in n8n.
In this article, I will implement a simple workflow in n8n, which is to create an automated process to send an email notification when an event occurs, specifically when a Google Sheet is updated.
To implement this idea, you will need 2 nodes:
The trigger is the button that starts your entire workflow.

Log into your n8n account → click the Create Workflow button (the orange button at the top right) or the Start from scratch button (in the middle of the screen).

Add a trigger by selecting + Add first step.

A dialog box will appear.

Search for and select Google Sheets.

Then, choose On row added.

A dialog box will appear. If you haven't connected n8n to Google Sheets yet, you will need to connect your account. If you have already connected it, just select your account from the Select Credential list and continue.

At this point, you will see the Google Sheets trigger has been created → continue by clicking the + button next to the Google Sheets trigger to add another module and connect it to the trigger.

In this case, I will search for Gmail and select Send a message. Similarly, a dialog box will appear asking you to connect Gmail with n8n. If it's already connected, just choose your account from the Select Credential list and continue.

Now, the Gmail module has been created and connected to the Google Sheets trigger.
Every time a new row is added to Google Sheets, n8n’s workflow will automatically check and update, then send an email notification. If desired, you can also set up additional email content.

Once you have completed the above steps, all you need to do is run and test the workflow. For professionals or those familiar with n8n, this is still an important process that shouldn’t be skipped.
To manually run the workflow, simply click the Test Workflow button at the bottom of the screen. Immediately, n8n will notify you whether there are any errors in the workflow.
If there are no errors, you can start using the workflow in real life. On the other hand, if there are errors, you need to figure out where the problem lies and fix it properly.
The example in this article is simple, but you can customize additional nodes and actions to expand the capabilities of the workflow according to your work requirements!
Basically, creating a workflow in n8n is quite similar to many other platforms like Make.com or Zapier. However, the steps might differ slightly, which can make it a bit confusing for new users. I hope that through this article, you now have a good understanding of how to create a workflow with this popular automation platform!
[EmbedSoftware ids="35"]
With Zoho Survey, you can create professional and effective surveys by optimizing questions, improvi…
Mailchimp not only helps you build long-term relationships with customers but also supports revenue …
After registering for a Mailchimp account, there are important steps you need to take to use the pla…
We run an actual performance + AI stack at Nexpo — automated lead scoring, AI-generated ad copy, anomaly detection across ad accounts. Everything tied to weekly ROI. Want this for your business? We'll map a roadmap based on your current data.